In Article 1, we chose the product
Now we're going to build the actual business infrastructure.
Our example remains:
Portable Dog Water Bottle
Target markets:
United States + Canada
Target customer:
Dog owners
Step 1: Choose your business name
Your name should be:
easy to spell;
easy to pronounce;
memorable;
available as a domain;
suitable for your niche.
Don't call the store:
CheapDogProductsUSA123
Build a brand instead.
For our fictional example:
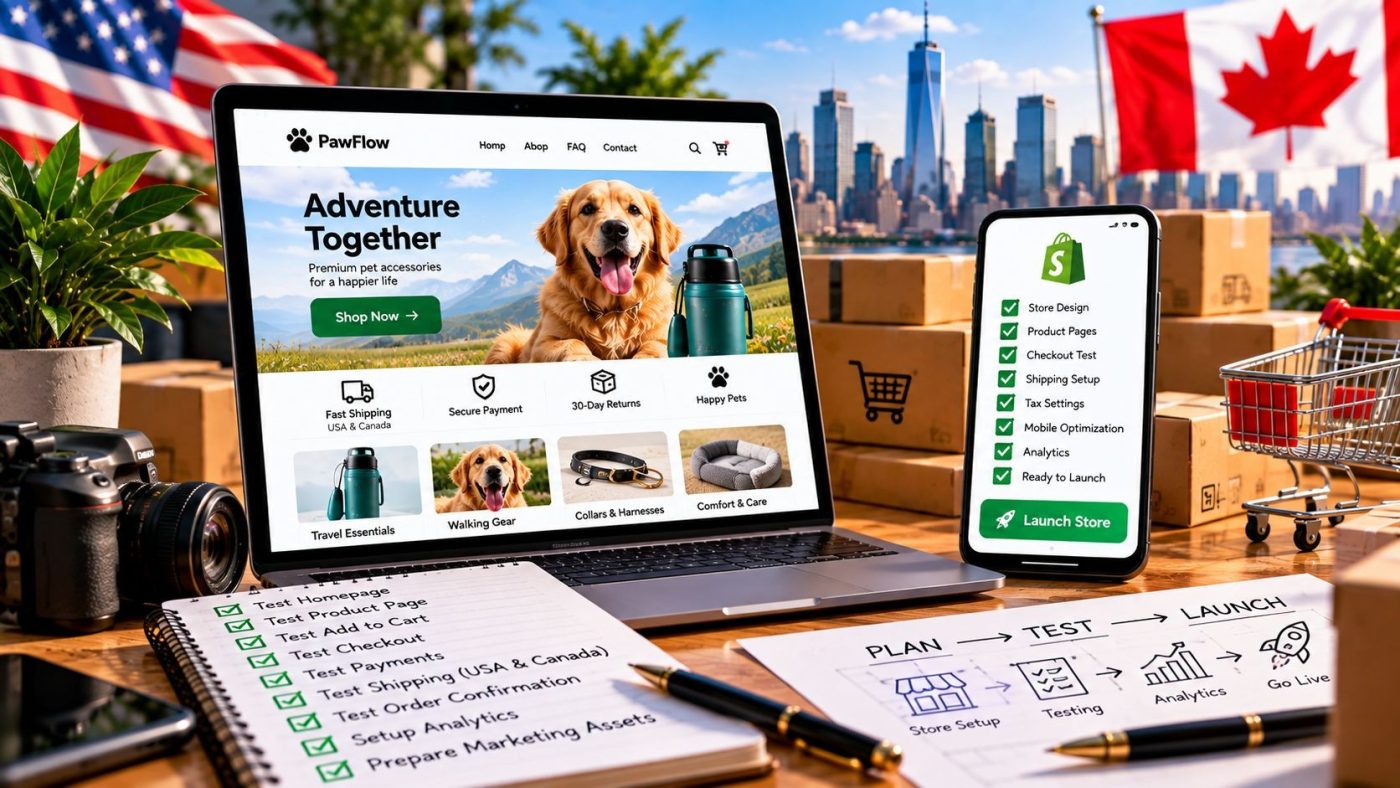
PawFlow
Possible domain:
Before buying anything, check whether the name is available and whether another business already has strong rights to it.
Step 2: Buy your domain
Use a domain registrar or Shopify's domain system.
Your goal:
Avoid unnecessary numbers and complicated spelling.
Then check availability on:
Instagram
TikTok
Facebook
Pinterest
Step 3: Create your Shopify store
Shopify currently lists its Basic plan at$29/month when billed yearlyon its US pricing page. Pricing and promotions can change, so check the current pricing page before publishing your article.
Screenshot to add here
[SCREENSHOT 1: Shopify pricing page showing the current Basic plan]
Create your store.
Then go to:
Settings → General
Configure:
store name;
store email;
business information;
currency;
time zone.
Don't Want to Handle the Technical Setup Yourself?
Following all these steps can take time, especially if you're not familiar with Shopify, payment configuration, domains, analytics, tracking, shipping settings and the technical side of running an online store.
I can handle the technical setup for you.
For$250, Bproo Dev can help you configure the technical side of your dropshipping business so you can focus on your products, customers and marketing.
Need help setting everything up?
Step 4: Install your supplier app
Shopify's current recommended dropshipping resources include supplier marketplaces and apps such as Shopify Collective, DropCommerce and other services.
For a US/Canadian business, prioritize suppliers offering:
US warehouse
or
Canadian warehouse
or
North American fulfillment.
This can significantly simplify delivery compared with shipping every order from overseas.
Step 5: Check the supplier before importing the product
Ask:
1. Where is the product stored?
You want a clear answer.
2. How long does fulfillment take?
Not just shipping.
Ask:
How long between receiving the order and handing it to the carrier?
3. What carrier is used?
For example:
USPS
UPS
FedEx
Canada Post
DHL
4. Do they provide tracking?
5. What happens when the product is defective?
6. Where does the customer return the product?
7. Can I order a sample?
Always consider ordering a sample before launching paid advertising.
Shopify specifically recommends test orders to evaluate processing time, tracking, packaging and product quality.
Step 6: Import the product
Add your product to Shopify.
But don't publish the supplier's description.
Your product page should be written for the customer.
Instead of:
"Portable dog water bottle 500ml leakproof pet drinking bottle..."
write:
Give Your Dog Water Anywhere
A simple portable bottle designed for walks, road trips and outdoor adventures.
Then explain:
No messy water bowls
Give your dog water directly from the bottle.
Easy to carry
Designed for walks, hikes and travel.
Leak-resistant design
Keep your bag cleaner while you're moving.
Step 7: Build the product page
Your page should contain:
Product title
↓
Main image/video
↓
Price
↓
Benefits
↓
Buy button
↓
Product demonstration
↓
Specifications
↓
Shipping information
↓
Returns
↓
FAQ
↓
Reviews
Step 8: Create your navigation
Keep the menu simple.
Example:
Home
Shop
About Us
FAQ
Contact
Don't create 20 empty pages.
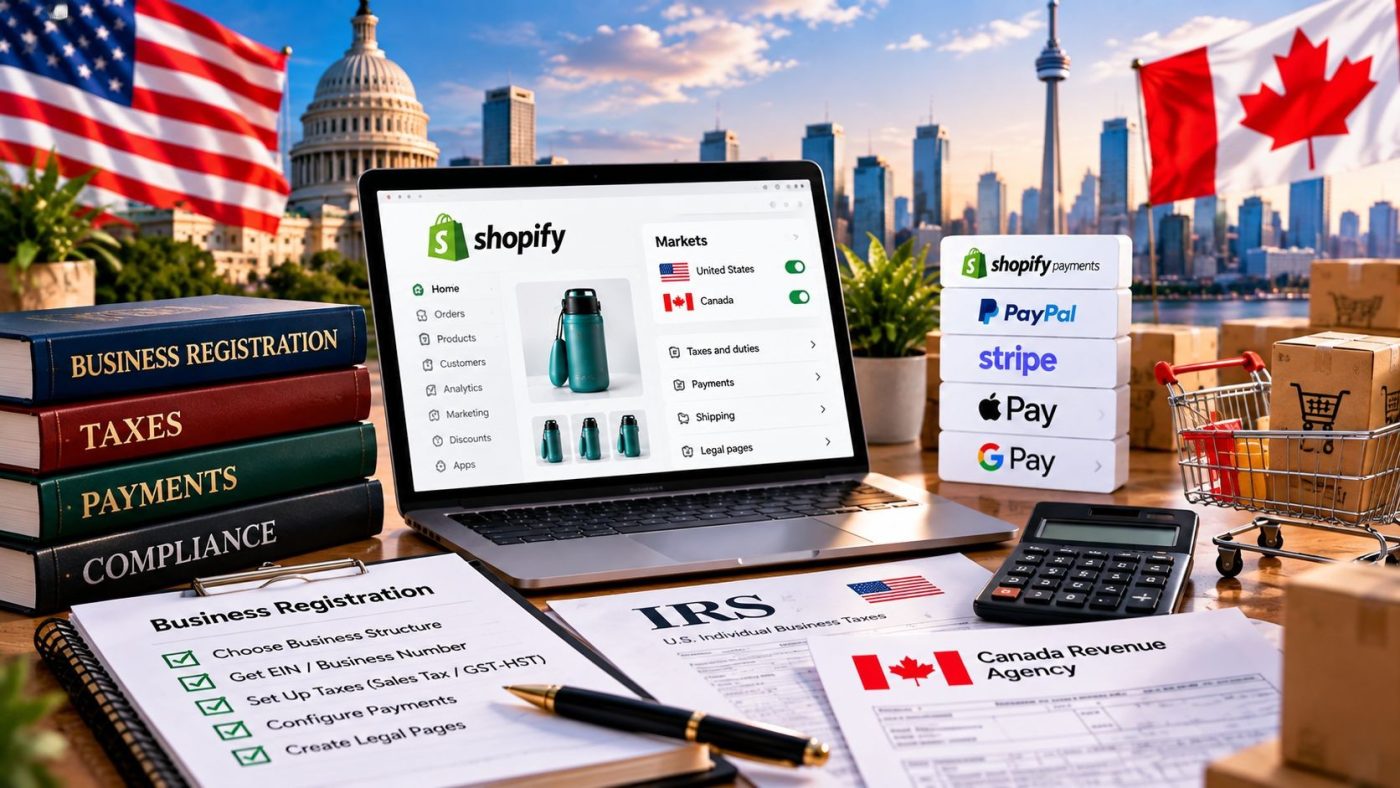
Step 9: Create your US and Canadian markets
In Shopify, use:
Settings → Markets
Create or configure:
United States
and
Canada
Then check:
currency;
domains;
pricing;
shipping;
taxes;
product availability.
Shopify's Markets tools allow merchants to configure tax and duty presentation by market.
Step 10: Configure shipping
For our example:
United States
Standard Shipping — $4.99
or
Free Shipping — orders over $49
Canada
Standard Shipping — calculated at checkout
The exact offer should be based on your supplier's actual shipping cost and delivery times.
Never advertise "Free 2-Day Shipping" if your supplier needs 7–12 business days.
Shopify requires merchants to make processing and shipping information publicly accessible and communicate shipping times and additional charges before checkout.
Step 11: Make the store mobile-first
Most of your social traffic will probably arrive through a phone.
Open your website on:
iPhone;
Android;
Chrome mobile;
Safari mobile.
Check:
product images;
menu;
add-to-cart button;
checkout;
page speed;
text size.
Your task before Article 3
You should now have:
business name;
domain;
Shopify account;
supplier;
product;
product page;
shipping settings;
US market;
Canadian market;
mobile-ready store.
Ready to Build Your Store?
You now have the most important foundation: a validated product, potential suppliers, a preliminary selling price and an estimated margin.
The next step is to turn that product into a real online business.
In Article 2, we'll choose the right supplier, buy the domain, create the Shopify store, configure the US and Canadian markets, build the product page and prepare the store for customers.
Continue here: [How to Find a Dropshipping Supplier and Build a Shopify Store for the USA and Canada]